Saturday 29 March 2014

Frida Kahlo

Our doll club, the cloth-a-dollics are having a challenge to make a doll that is travelling.  The doll should be of someone that we want to meet (past, present, or future) and going someplace that we have never been.  The piece must have some sort of luggage and must incorporate the challenge fabric (mid-blue satin type of fabric that we were given).

 The travelling dolls are to be displayed at the Victoria Quilt Guild's show on May 2-4th at the Pearkes Arena here in Victoria.  The quilters also have a challenge that involves travelling-they are to make a travel quilted bag.

As soon as I heard about the challenge I thought of making a Frida Kahlo doll travelling to Paris to display her surreal art work.  I was very pleased with the result.  The doll is about 18" in height.  She is saying goodbye to one of her parrots before her travels.

 Frida was a remarkable women that was beset with both great pain and great joy.  Frida loved to paint her face.  She began seriously painting after a severe accident when she was sixteen up to her death in 1954 at the young age of 46.  Frida's arresting paintings, most of them self-portraits express her pain and struggles in the surrealist style that she called "her reality".

She loved Mexico and loved the traditional Mexican folk art and the "day of the dead".  This doll is based on her paintings.  The hand shaped earrings she wears were given to her by Picasso.  Frida loved to wear her joy of life on her body and she often wore lots of jewellery and flowers in her hair.  She loved nature and animals and often painted herself with parrots and monkeys.


 Notice the blue fabric that I used for the lining of her shawl (that was the challenge fabric).  For her outfit I was fortunate to be given some traditional Mexican/Peruvian folk fabric by a very lovely lady named Connie.
 This depicts her luggage with Mexican stickers.  I burned the words "Diego Rivera the adoro" into her base.  Diego was the love of her life but their relationship was very rocky as Diego could not remain faithful to Frida.  Despite this, they loved each other fiercely and could not live long apart.

The next few pictures show the "day of the dead" cards (the side of playing cards) that are at the base of this piece.  The Day of the Dead is celebrated in Mexico to honour the dead relatives.  I picked these particular cards as Frida was born in 1907.
 This card depicts the great love of Frida's life, Diego.  Frida did have many lovers in her life besides Diego (including some women) but she could not live without Diego.
 The back of the cards have the traditional Mexican fabric which I also used for Frida's outfit:

A view of the back of her dress showing the variety of fabrics used.  Her hair was black yarn woven into braids on the top of her head:

 This is a close up of her colourful shoes:
 One last look at this renowned Mexican artist that achieved a global reputation.  In 1983 her work was declared the property of the Mexican state.

I hope you enjoyed Frida and if you are in the Victoria area, please come to the Pearkes arena on May 2-4 to view the quilts and dolls!
Pin It

Sunday 9 March 2014

The Dutch Touch

I wanted to post this to pay tribute to the work of the Dutch Touch dynamic duo, Ankie Daanen and Marlaine Verhelst.


Ankie told us about their history together which dates back more than 30 years!  Ankie went to an international doll show and fell in love with art dolls.  She went back to the same show three, four times trying to take it all in.  She then went home and searched for teachers in her area and came across Marlaine Verhelst.  She immediately contacted her and took her first doll sculpting classes.  They became instant friends.

Both of these ladies have gone on to become master doll makers with international success.  Both were selected to be members of NIADA (National Institute of American Doll artists), a select group of international doll artists of all media that are chosen to promote the art of doll making.

Their dolls are similar and yet so different, each with character and personality. Although Ankie was Marlaine's student, they both developed their art in Holland while remaining friends and feeding off of each other's work while developing their own style.

Ankie tends to make dolls with elaborate costumes while Marlaine seems to enjoy dolls paired with animal friends.  If I were to have to choose I would want one doll from both these wonderful doll artists but I would not know how to choose just one from each artist!

Dolls by Marlaine Verhelst

A doll by Ankie Daanen

Doll by Ankie Daanen

Sadly, I know first hand how difficult it is to remain friends in the same small market that is the world of art dolls without being jealous of your friend and without doubting yourself and feeling threatened by their success.

 I was so impressed with these ladies as not only teachers but more importantly as women to admire and to emulate, two friends that can work with each other and bring out the best in one another while inspiring their students to do the same.  My hats off to you and I do hope that in my life I too can bring out the best in others and inspire my fellow doll artists, after all that is what life is all about!

Princess Sophia

As promised, I am presenting Princess Sophia, made in a workshop with the New Dutch Touch.

I decided that being an Italian Princess meant that Sophia needed earrings, so I pierced her ears and gave Sophia gold and diamond hoops.  The princess decided to wear her pearls and her bracelet for her portrait.  In addition, she wanted a wee bit more trim around her sleeves and pantaloons (she is innocent, but a wee bit demanding).  She asked for tiny gold trim at the edge of her shoes, and I gladly obliged.

Finally, Princess Sophia was thinking back to her wonderful week at the Blue Moon Winery in Courtenay, BC and she was missing her "sisters in spirit" so I decided to make her a royal art book filled with pictures of the other Princesses.  She was so delighted that she now holds  her book on her lap and will not let it out of her sight!

I hope you enjoy my little Princess, I know I do and I hold the memories of my week in Courtenay close to my heart.


Pin It

The New Dutch Touch

I am so excited that I just finished a glorious week learning from Ankie Daanen and Marlaine Verhelst along with 11 other enthusiastic doll makers!

The week was organized by Marla of Blue Moon Winery in Courtenay, BC on Vancouver Island. The weather was typical west coast with gentle rain and gray skies (normally it is much drier at this time of year) but nothing could dampen our fun.


Ankie and Marlaine were such fun and very good teachers.  We started with an oval ball that was covered in a thin layer of paper clay and then we started to build our "little princess".

This is a fairly new class for them and is a departure from the emphasis on heavy costuming.  This doll has a paper clay bodice that can be decorated and painted as part of her outfit.


Painted heads (with watercolour paint) waiting to dry
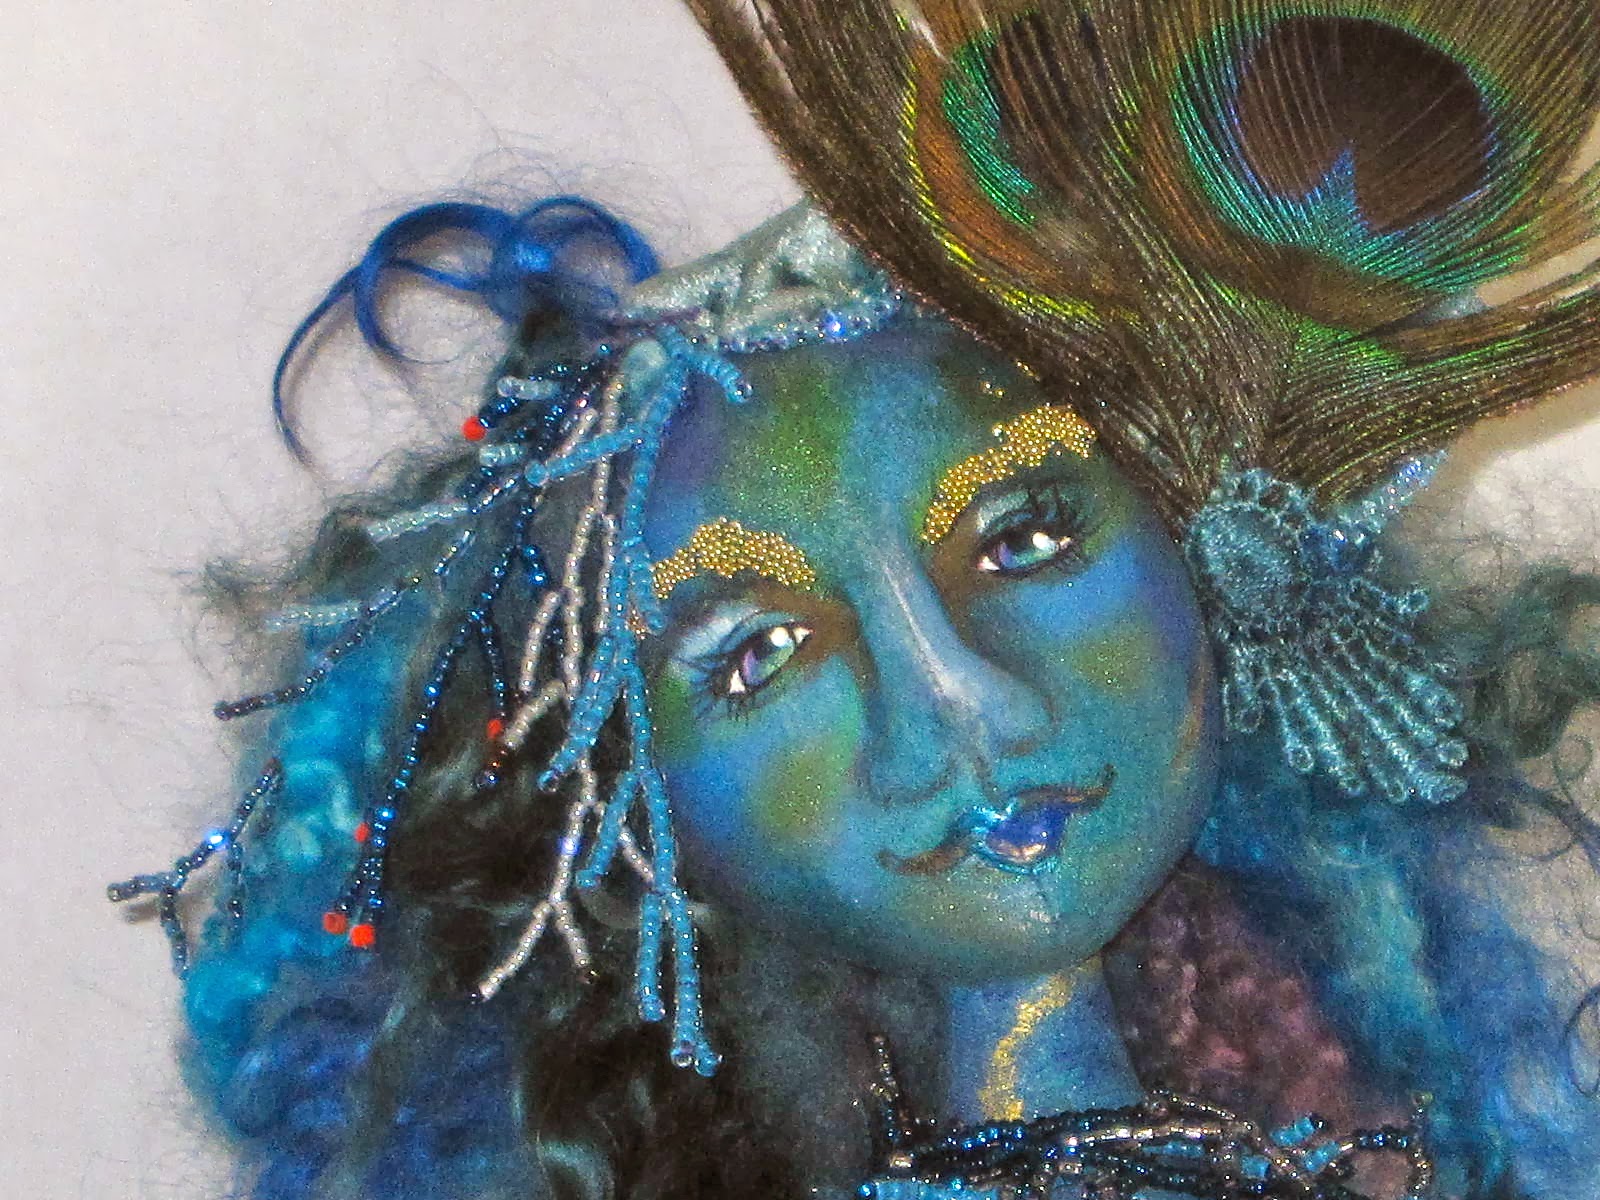
As you can see, although we were following the same steps for building her face, all the heads are unique depending on the slight differences in the size and placements of the features, just like us!

The paper clay was fun to work with as it was supple and could be smoothed with your own fingers and water.  We did have paper clay tools that we used as well.

The most challenging part was learning how to build slowly by adding clay and them smoothing well to blend the added clay into the face.  The little hands were the hardest part for me!

The bodice was easy and fun to decorate.  Some of us used a stamp to emboss the clay, others a piece of lace and still others embedded metal bits into the bodice so that they would adhere once the clay dried.
Face in progress

Face a little further along

Bodice with embossing using a stamp
I cannot describe the fun and positive energy that I received from spending an entire week immersed in creating a little doll with like-minded ladies!  Marla, our host was so gracious and showed us her past work and her wonderful marionettes.  Snacks, tea and coffee were available all day long and a local chef, Laura made us the most tasty lunches using organic, local produce. Marla provided her local berry wine.  This is my idea of heaven, creating, laughing, eating and drinking surrounded by the positive energy that is in all of us!

Here is a group portrait of the little princesses:  They once all lived in the same magical kingdom and then met their special someone and moved a little bit away to a castle of their own making.  The little princesses were determined to  connect at least once a year with their sisters in spirit and share their varied and eventful lives in the peaceful setting of Vancouver Island.

I will add my little princess' solo picture a little later as soon as she receives her special book and necklace so stay tuned!

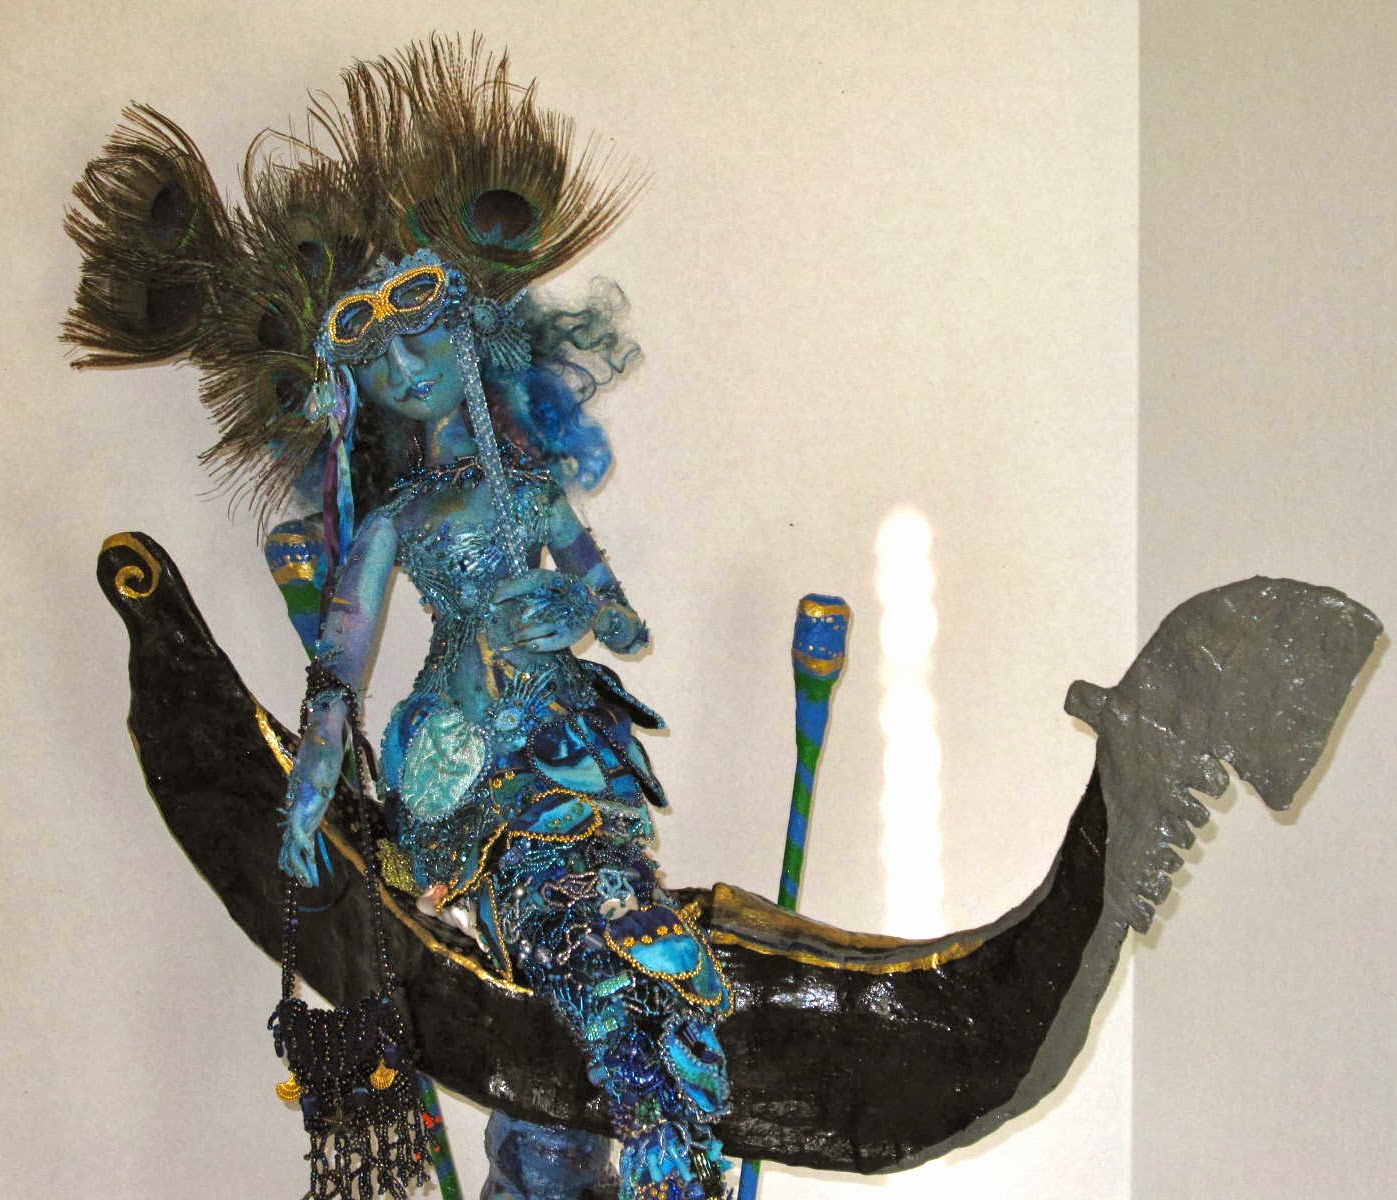
Our host Marla was not able to take the class with Ankie and Marlaine and was very sad so her friend Angie suggested that if there was time, perhaps we could build her little princess for her together.  We thought that was an excellent idea and so it happened that Marla too had her own little princess with bits from many hands including mine.  Here she is wearing Marla's favourite colour, sky blue:

Marla plans to have Ankie and Marlaine back in 2016.  I can hardly wait!  Bye for now.
Pin It

Monday 17 February 2014

Poppy Love

I am very happy to present my new teddy, "Poppy Love".  She was inspired by my love of poppies and my love of UK artist Melanie Jayne.  Poppies are one of my ideal flowers, bright, colourful, low maintenance and flowers that always brighten my day.  Poppies, and red poppies in particular, bring me back to memories of the Tuscan hills!

"Poppy Love" measures 21" to the top of her hat but is only 12" sitting.  She is made of plush white mohair with suede paw pads, glass eyes and is fully jointed.  To add extra warmth and character to her face, I tried needle sculpting her nose and muzzle (first time) and am quite pleased with her look.

I took a fun afternoon class on wet felting flowers with local felting artist, Tracy Black, and I was hooked!  Twelve flowers later I knew that they would adorn a green felted "hat" for Poppy.

I hope you enjoy her as much as I enjoyed making this sweet bear.


Pin It

Tuesday 11 February 2014

"The Beaded Doll"

Our doll club, the "Cloth-a-dollics" had a challenge for members to make a "beaded doll".  The dolls were to be revealed at the February meeting.

The first decision is what kind of doll to make.  Well my thought process was this:
  • I had a lot of gorgeous blue hued beads
  • February is traditionally Carnival
  • a kind lady named Linda from the Coast Collective gave me some peacock feathers
  • I love, love making mermaids
You have probably guessed where this is going!  I decided to make a mermaid going to the Venetian carnival.  She was to represent Venice as Venice is also known as "the queen of the sea".   The mermaid would be holding a peacock mask and would arrive on a gondola!

The next step was to assemble some appropriate pictures/fabrics to inspire me:


Print by local artist Jill Louise Campbell
I looked through a book I had on Venice during Carnival.  I loved the Kaufman print fabric and I had a small piece left that I could use for inspiration and to include in the mermaid tail.  I had a mask that I purchased a while ago and a picture of a mask based on peacock feathers, plus a print of Venice painted by a local artist-a good beginning.

I decided to use Arley Berryhill's mermaid pattern (from a workshop taken a few years ago) as the base for my mermaid.  This mermaid is made with plain muslin or cotton fabric and assembled.  It is then painted free hand using textile dyes (Jacquard is what I used).  The stuffed doll body is sprayed with clean water and then the dyes are dropped on the body free hand or with a small brush.
You can see that I used the Kaufman print fabric as my inspiration for colouring the mermaid body, face and arms.  The colours I used were: (Jacquard Texile fabric dye)


  • 111 Sky Blue
  • 114 Turquoise
  • 571 Pearl Turquoise
  • 562 Metallic Olive
  • a Blue Cobalt (Pebeo Setaclor #11)
  • plus a  Delta Ceramcoat Metallic Gold (Gleams)
You can see the finished arms with some lace appliqués that were dyed using the same colours and then applied to the arms with beads. 
I then made the mermaid tail using the Kaufman print and some additional fabrics to supplement as I did not have enough of the print.  Also I wanted a "crazy patch" technique for the tail as I wanted to use her tail as a great base for my beading!


 I then had to decide on how to construct the gondola.  I used a candlestick for the base and then I used cereal box cardboard to construct a gondola shape go go around the top of the candlestick.  I taped the cardboard gondola to the candlestick and then covered the entire thing with aluminum foil.

I used plaster cloth (can be purchased in craft shops such as Michaels) to cover the structure.  The plaster cloth adds a lot of strength and stability and brings the various components together to form the sculpture.  It is a white base and can then be gessoed and painted:

You can see that I glued the candlestick base to a square base board and then drilled three holes for the sticks to represent the poles to which the gondola is anchored when not in use.

Now I went to town with painting the gondola (first sand lightly and gesso to seal the piece):

I painted the gondola in black with gold highlights.  The base was coloured with acrylic paints in different hues of blue to represent the water while the poles are sky blue and bright green with gold accents.  I was very pleased with the finished product.  A added a gloss finish to seal the paint.  Below is a close-up of the base with swirls to represent the waves lapping the shoreline.


I then started to bead!  What fun I had using my beautiful blue beads.  I did fringe, raised beading, random scatter beading, peyote stitch, brick stitch, lazy stitch at perpendicular angles to create a basket weave effect, and so on and so on!


For beading techniques, there are many great reference books but two that I use frequently are:
  • Beaded Embellishment by Amy C. Clarke and Robin Atkins
  • Beading on Fabric by Larkin Jean Van Horn
The masquerade mask is next so I used kitchen towels to draw a shape and placed it against the mermaid's face to get the correct size.  I then used a small piece of ultra suede for the mask base and I beaded away:  Once the beading was done I glued the peacock feathers to the side and then made a felt backing and glued it to the back to cover the threads from the stitching.  I used a small stick as the mask handle which I then beaded using circular peyote.

I also decided that the Queen of the Sea would love to have a beaded amulet purse to carry her mirror and her shells so I made her one:

OK, I have delayed just long enough.  I present to you "Venezia, Queen of the Sea":


A close-up of her face showing her mohair locks for her hair and her branched fringe adornment.


One final look:
I hope you enjoyed this doll and the process of creation.

Pin It

Ornaments Galore

  It is mid October and I have just finished making a gaggle of Christmas ornaments in preparation for the holidays: There are reindeers, pa...