|
| "Portlandia" protecting the city of Portland |
I was very fortunate to attend the 2015 Niada Conference (National Institute of American Doll Artists) that took place in Portland, Oregon. I had a wonderful time, travelling to the conference with friends (on Amtrak for the first time), to taking a master doll class with renowned cloth doll artist Shelley Thorton, being enthralled with the key note speaker, Ronnie Burkett to enjoying the vibrant, funky city that is Portland!
I have long admired Shelley Thorton's "painterly" cloth dolls. They evoke a sense of innocence, purity, and fun that is the best of childhood:
 |
| Her trademark is the fabric sculpted hair shapes for the hairdo. |
I was delighted to take a two day class with Shelley where we were guided in making her beautiful needle sculpted heads. I will post my doll (hopefully next month) once she is finished. Shelley uses all cloth with mostly natural materials stuffing with wool roving and embroidering the features for a warm, innocent look.
 |
| Shelley's demonstration head |
I was thrilled to share my love of art dolls with my sister who travelled from Toronto and joined me in Portland. While I took doll classes and attended lectures she was busy visiting the sites of this fun city:
 |
| Washington Park (a natural park that includes a rose garden and a zoo! |
 |
One of the funky neighbourhoods complete with metal sculptures in the front yard.
|
 |
Japanese Garden
|
 |
| My sister and I at the Gallery Night |
 |
| Connie Smith |
My sister was able to attend the "Gallery Night" (open to the public) where the newest work of NIADA artists is presented. What a thrill:
 |
| A porcelain artist from Sidney, BC (Heather Mesiak) |
 |
| Tanya Marriott (current NIADA President) |
 |
| Stephanie Blythe |
 |
| Leslie Molen |
 |
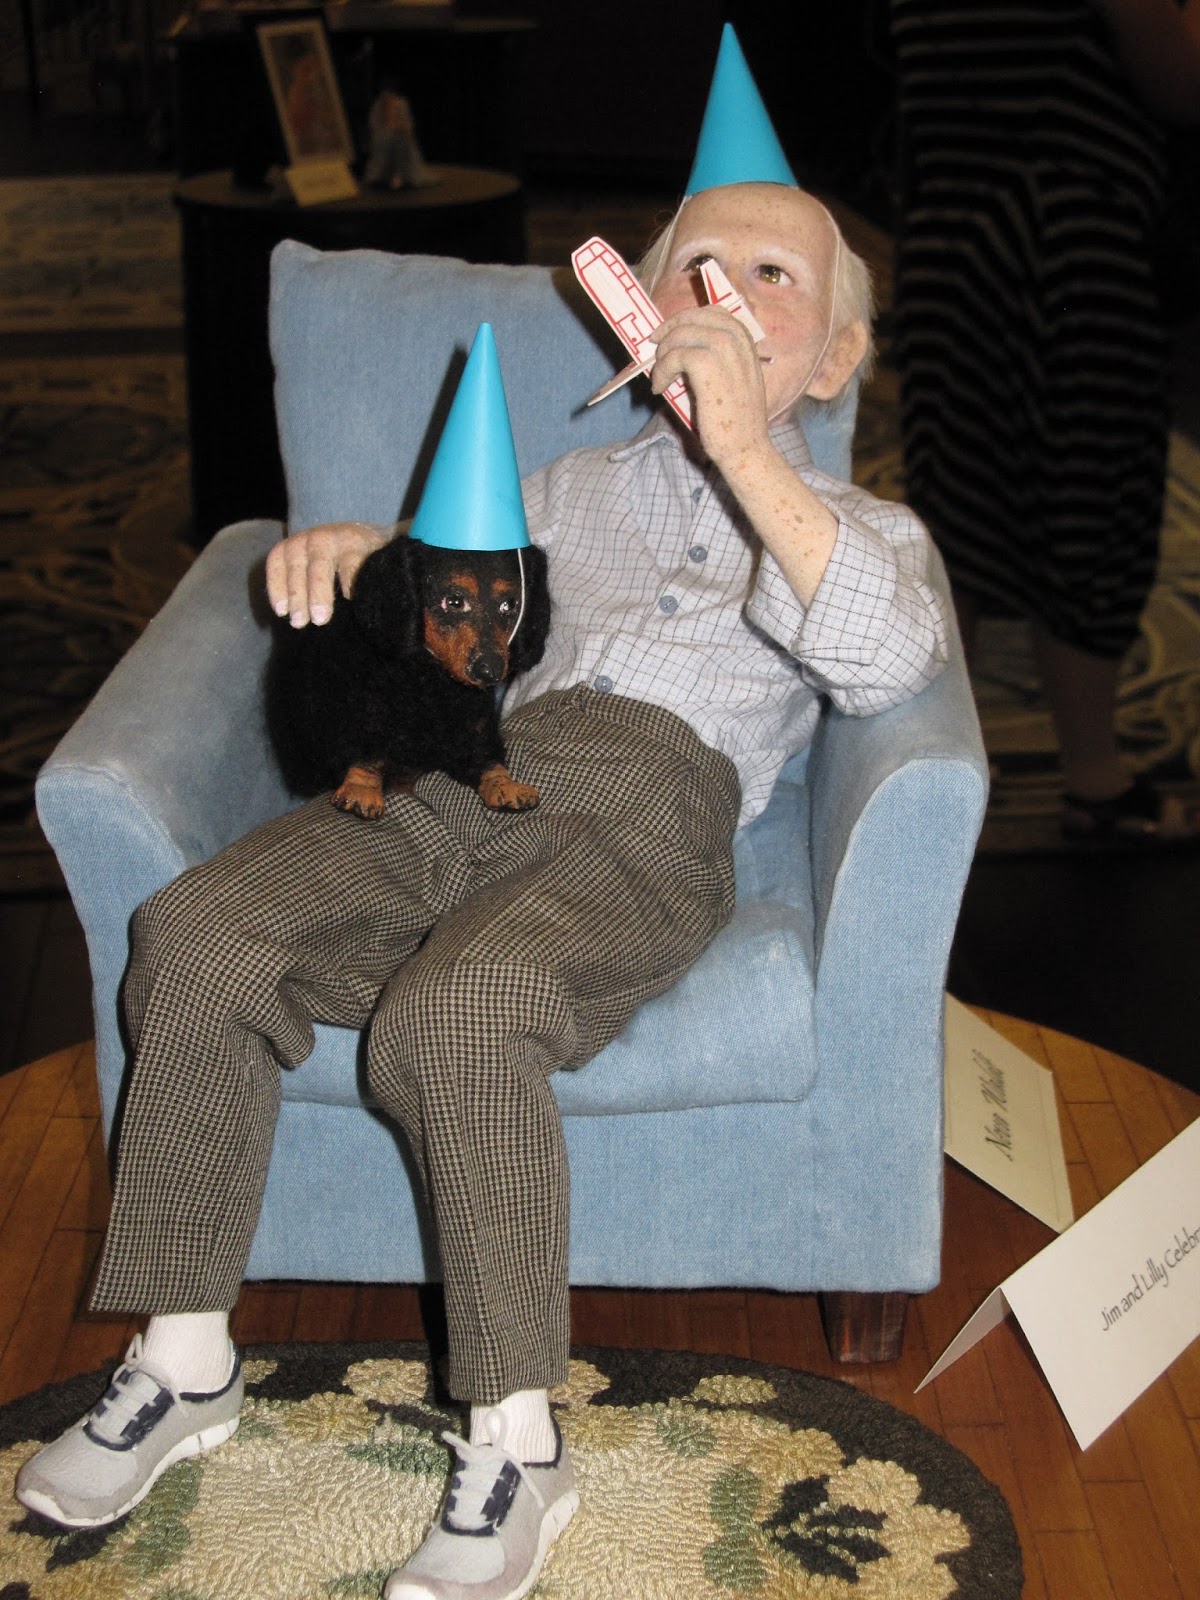
| Neva Waldt |
 |
| Kate Church |
 |
| Susan Scogin (she made us a Oregon pioneer souvenir doll) |
 |
| Russian artist Ima Naroditskaya (one of my favourite pieces) |
 |
| Made by E. J. Taylor |
What is a trip to a doll conference without a wee bit of shopping? I visited the Fabric Depot, Bolt, the artsy Gallery district on Alberta Street, and the downtown Button Emporium to name but a few! The local Portland doll group gave an opening day tea at the Museum for the attendees and showed us their dolls-such talent:
A final highlight was the trip to the LAIKA, Box Trolls Studio which is in north Portland. I was lucky enough to be one of the 25 attendees that was chosen to visit this iconic stop-motion animation studio. It was trilling, overwhelming and delightful, all at the same time!
 |
| Internal armature in Caroline (first Laika studio movie) |
 |
| Creative Supervisor, Geergina Hayns adjusting the face on one of the puppets. |
 |
| Cute character puppet from the Box Trolls movie |
 |
| Paranorman |
It take a about 2.5 years to make a full length movie from inception to screen at the Laika studios using stop-motion animation. We were able to see all parts of the creative process from the costume boards (fabric selection and sketches) to the construction of the armatures, puppet making process, to the set themselves during the filming process.
 |
| My favourite puppet. |
During one of the many demonstrations, Toby Froud (Puppeteer fabricator and sculptor for Laika studios ) showed us his "old world" hand-held puppets :
There were many more wonderful highlights, not the least of which was connecting with fellow doll makers, some new, some very experienced but all full of enthusiasm and love of the dolls!
I would highly recommend attending a NIADA doll conference should it come to a region near you. Next year's conference will be on the east coast in Washington DC.