I often sign up for online classes as I love learning new techniques. But, I do not always make the doll during the online class, lol! Recently I decided to tackle an online class that I had signed up for a year ago, a mermaid by Angela Jarecki, called "Enkai Nou", Japanese for deeps or ocean, gift or memory. My mermaid piece is called Marina, Italian for sea and the child is Gemma, gift or jewel.
First I picked my fabrics:
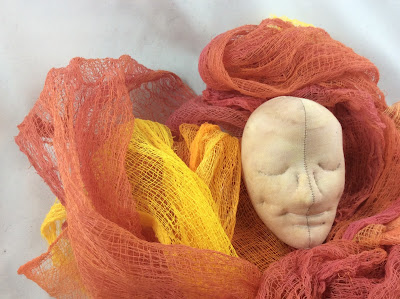
I loved this colour palette, so bright and lush. I decided to use the back fabric with the circular motif for the tail and the other two for the fins. Next I had to dye some cheesecloth as Angela directed using Rit dye:
I then tacked the head using a batik fabric to add depth to the face. I needle sculpted the head (eyes, nose and mouth). I admit that the face looks a bit weird at this point but I know from experience that this will be a good face:
Now I went to town beading the mermaid tail and fin. I also added real shells to the piece.
I then "skinned" the face to cover the needle sculpting and coloured the face using mostly watercolour pencils (some permanent marker and some acrylic paints). I added a touch of dimensional glaze to the eyes and mouth:
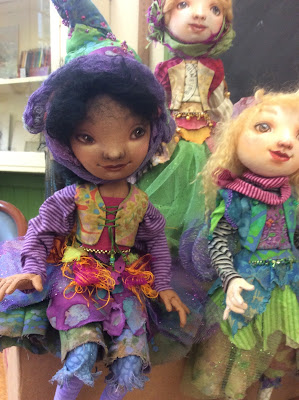
Notice that I made the child mermaid as well. The eyes on the child are farther apart and the face has less colouring than the mamma mermaid. I used the same fabrics for both dolls, just in a different order. I love the way they turned out.
I hope you enjoyed this duo as much as I enjoyed making them. I love online classes as I always learn so much and it stimulates me to create!
My blog is designed to share my love and enthusiasm for art dolls with family and friends.
Showing posts with label Classes. Show all posts
Showing posts with label Classes. Show all posts
Friday, 17 February 2017
Thursday, 6 October 2016
Angela Jarecki Workshop
This past weekend the Cloth-a-dollics hosted Angela Jarecki, a talented cloth and mixed-media doll maker, at Heritage Acres in Victoria, BC.
Her dolls are beautiful and evoke the innocence and fantasy of childhood:
She was teaching a wee doll in this three day workshop, that is pictured below. She is all cloth with a face overlay to hide the centre seam. Her faces are coloured using watercolour pencils. She even provided a pattern for the wee donkey:
Angela is a lovely lady and a great teacher. She was very informative, very giving, and very organized. We loved hosting this wonderful teacher and would recommend her to any doll club wanting to learn her techniques.
Here are samples of her "Windows" techniques that she used to practice colouring the all important faces:
Stay tuned next week for my finished doll from her workshop. I love her and cannot wait to make another doll using some of the techniques that I learned from Angela Jarecki.
Sunday, 13 July 2014
An Embroidery Refresher
This past Saturday I took a refresher beading course with a local talented header and teacher, Eileen Neill (Qualicum Beach, BC). It was a fantastic day, so much fun. We learned how to do some basic outline stitches (lazy stitch and couching stitch), three kinds of picot edging stitches, some fancy stitches (like spider web), all kinds of fringe, and the lacy netting stitch.
The sampler we made is about 4.5" square. I took pictures of some samples that Eileen Neill made: (Our homework was to make the base fabric square, ready for beading).
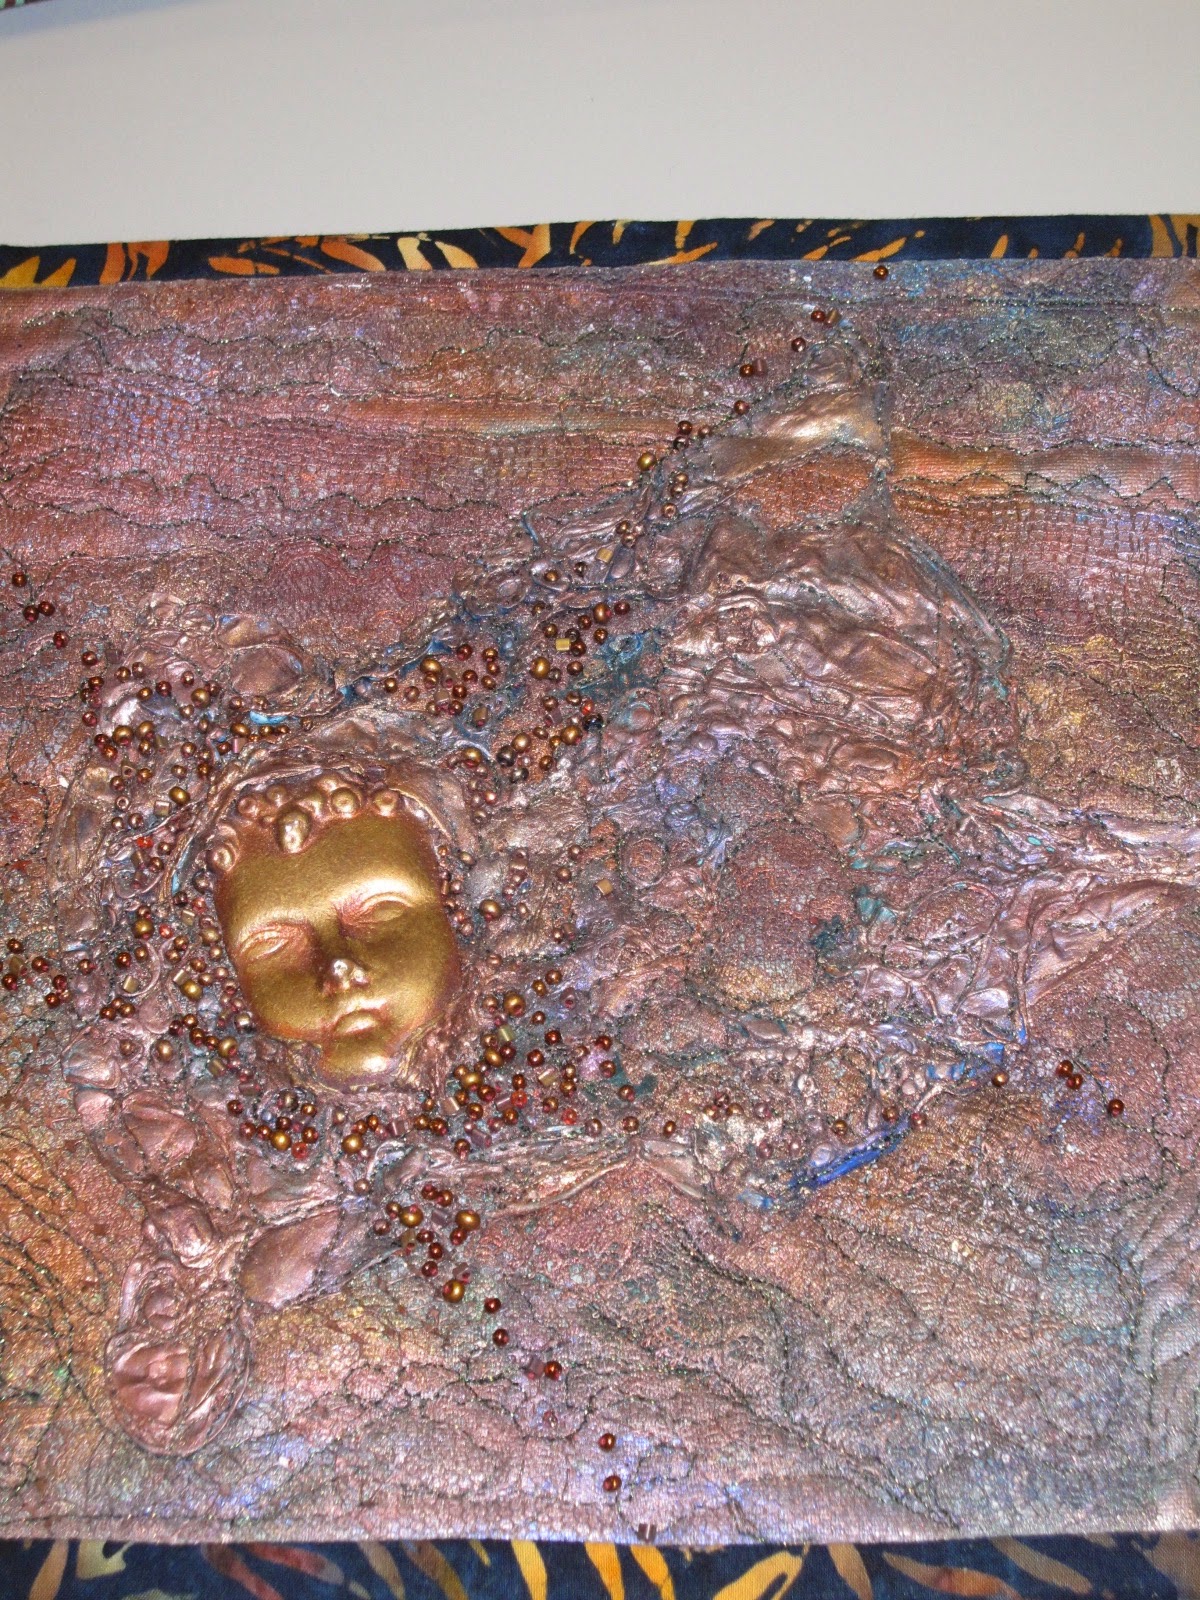
Here is my finished piece which I am calling "Fantasy Garden Delight":
Eileen Neill also teaches peyote work. She has done a lot of pieces with Tyvek and burning techniques which produces interesting work. Beading is such fun and if I were not so busy making dolls, I would surely be a beader!
Here are some of Eileen's "burned" pieces:
Eileen does not teach the burning technique as it emits fumes indoors and must be done in open air. Here are three final beaded squares all made by Eileen: Notice that on all the squares the base fabric is batiks as they have interesting colour combinations and are a nice tight weave. Eileen uses doubled "Coats Dual Duty" hand quilting thread, treated with beeswax (to strengthen) followed by Thread Magic (to lubricate) for the beading thread. This thread does not fray like Nymo does when beading cloth. This class was originally developed for quilters that wanted to incorporate beading into their quilts but works equally well for doll makers.
The sampler we made is about 4.5" square. I took pictures of some samples that Eileen Neill made: (Our homework was to make the base fabric square, ready for beading).
Here is my finished piece which I am calling "Fantasy Garden Delight":
Eileen Neill also teaches peyote work. She has done a lot of pieces with Tyvek and burning techniques which produces interesting work. Beading is such fun and if I were not so busy making dolls, I would surely be a beader!
Here are some of Eileen's "burned" pieces:
 |
| The face has been stamped, tyvek, burning and beading plus metallic paint |
 |
| This uses a face mold, tyvek, burning with heat gun. |
 |
| This is made by using a plastic bag (frozen berries) and using the heat gun before sewing with netting. |
Eileen does not teach the burning technique as it emits fumes indoors and must be done in open air. Here are three final beaded squares all made by Eileen: Notice that on all the squares the base fabric is batiks as they have interesting colour combinations and are a nice tight weave. Eileen uses doubled "Coats Dual Duty" hand quilting thread, treated with beeswax (to strengthen) followed by Thread Magic (to lubricate) for the beading thread. This thread does not fray like Nymo does when beading cloth. This class was originally developed for quilters that wanted to incorporate beading into their quilts but works equally well for doll makers.
Sunday, 9 March 2014
The Dutch Touch
I wanted to post this to pay tribute to the work of the Dutch Touch dynamic duo, Ankie Daanen and Marlaine Verhelst.
Ankie told us about their history together which dates back more than 30 years! Ankie went to an international doll show and fell in love with art dolls. She went back to the same show three, four times trying to take it all in. She then went home and searched for teachers in her area and came across Marlaine Verhelst. She immediately contacted her and took her first doll sculpting classes. They became instant friends.
Both of these ladies have gone on to become master doll makers with international success. Both were selected to be members of NIADA (National Institute of American Doll artists), a select group of international doll artists of all media that are chosen to promote the art of doll making.
Their dolls are similar and yet so different, each with character and personality. Although Ankie was Marlaine's student, they both developed their art in Holland while remaining friends and feeding off of each other's work while developing their own style.
Ankie tends to make dolls with elaborate costumes while Marlaine seems to enjoy dolls paired with animal friends. If I were to have to choose I would want one doll from both these wonderful doll artists but I would not know how to choose just one from each artist!
Sadly, I know first hand how difficult it is to remain friends in the same small market that is the world of art dolls without being jealous of your friend and without doubting yourself and feeling threatened by their success.
I was so impressed with these ladies as not only teachers but more importantly as women to admire and to emulate, two friends that can work with each other and bring out the best in one another while inspiring their students to do the same. My hats off to you and I do hope that in my life I too can bring out the best in others and inspire my fellow doll artists, after all that is what life is all about!
Ankie told us about their history together which dates back more than 30 years! Ankie went to an international doll show and fell in love with art dolls. She went back to the same show three, four times trying to take it all in. She then went home and searched for teachers in her area and came across Marlaine Verhelst. She immediately contacted her and took her first doll sculpting classes. They became instant friends.
Both of these ladies have gone on to become master doll makers with international success. Both were selected to be members of NIADA (National Institute of American Doll artists), a select group of international doll artists of all media that are chosen to promote the art of doll making.
Their dolls are similar and yet so different, each with character and personality. Although Ankie was Marlaine's student, they both developed their art in Holland while remaining friends and feeding off of each other's work while developing their own style.
Ankie tends to make dolls with elaborate costumes while Marlaine seems to enjoy dolls paired with animal friends. If I were to have to choose I would want one doll from both these wonderful doll artists but I would not know how to choose just one from each artist!
 |
| Dolls by Marlaine Verhelst |
 |
| A doll by Ankie Daanen |
 |
| Doll by Ankie Daanen |
Sadly, I know first hand how difficult it is to remain friends in the same small market that is the world of art dolls without being jealous of your friend and without doubting yourself and feeling threatened by their success.
I was so impressed with these ladies as not only teachers but more importantly as women to admire and to emulate, two friends that can work with each other and bring out the best in one another while inspiring their students to do the same. My hats off to you and I do hope that in my life I too can bring out the best in others and inspire my fellow doll artists, after all that is what life is all about!
Thursday, 6 June 2013
Kate Church Doll Finished
Well, less than a week back from my visit to Toronto and I am pleased to report that I have finished my first Kate Church doll. I called her " On a Mission!".
 |
| Close up of her face and wild hair. |
The next doll that is almost finished is the bean bag style doll. My sister has already claimed this doll for herself.
Lastly, we had time to make additional heads and limbs. What fun.
Now I get to think up characters for these wee fellows. Perhaps he will be a jester. The blue-eyed head looks younger, so perhaps she will be a little girl. Stay tuned later in the year.
 |
| The face was made as a round robin face, so everyone in the class had a hand in sculpting him! |
 |
| He is missing his hair and trim but I still love him. |
Tuesday, 21 May 2013
Kate Church Workshop
I was fortunate enough to coincide my trip to Toronto with one of Kate Church's workshops! I took a three day class with Kate learning her technique to sculpt a head, hands, shoes/feet. She also teaches how to put the doll together with internal armature.
There were 12 of us in her class and it was wonderful. Most of us did not know each other, but what we had in common was a love for Kate Church's work! Kate is not only a magnificent doll maker but an amazing and patient teacher who is so generous with her techniques. I am sharing some pictures of our works in progress. Once I finish my doll(s) I will post the pictures. I took pictures of heads/dolls in progress but I forgot to take pictures of my own dolls! Enjoy! If you get the chance, I would highly recommend Kate Church as a teacher, check out her blog and website. I apoligize in advance if I misspelled anyone's name or mixed up the dolls. I was concentrating so hard on my work that I did not learn everyone's name!
Here are some of Kate's dolls which she brought for us to see during the workshop. You can see why we love her work!
There were 12 of us in her class and it was wonderful. Most of us did not know each other, but what we had in common was a love for Kate Church's work! Kate is not only a magnificent doll maker but an amazing and patient teacher who is so generous with her techniques. I am sharing some pictures of our works in progress. Once I finish my doll(s) I will post the pictures. I took pictures of heads/dolls in progress but I forgot to take pictures of my own dolls! Enjoy! If you get the chance, I would highly recommend Kate Church as a teacher, check out her blog and website. I apoligize in advance if I misspelled anyone's name or mixed up the dolls. I was concentrating so hard on my work that I did not learn everyone's name!
 |
| Fashion gal in progress by Foun-Lee who took the workshop with her sister. |
 |
| Biker in progress. I think by Alison. |
 |
| Cool goblin in progress. I think by Wendy. |
 |
| Doll in progress. I think this belongs to Carla. |
 |
| Funky doll in progress by Gaye. She was there with her daughter! |
 |
| Doll in progress by Catherine. |
 |
| Too cute guy in progress by Catherine. |
 |
| The butler in progress. I think by Lisa. |
 |
| Adorable. |
 |
| Cool character in progress. I think this is Trish's. |
 |
| Wee mouse in progress by Yelena. |
 |
| Wise mystic in progress by Foun-Lee's sister. |
 |
| Catherine and her guy. |
 |
| Gaye and her funky gal. |
 |
| Wendy and her cool goblin. |
 |
| Mystic magic. |
 |
| Funky character in progress. |
 |
| Arellya's doll in progress. Inspired by Cirque de Soleil. |
 |
| Arellya's doll with her costume, waiting for her balloons. |
Subscribe to:
Comments (Atom)
Ornaments Galore
It is mid October and I have just finished making a gaggle of Christmas ornaments in preparation for the holidays: There are reindeers, pa...

-
I have fallen in love with "critters" made from repurposed wool and/or cotton sweaters. I first saw these marvellous creations ma...
-
As many of you know, I have been making what I call "Wooly Critters" from felted thrift store sweaters. This November and Decembe...
-
I have been busy making my "Wooly Critters". They are just so addictive that once I start making one, another idea comes into my ...


